On this page
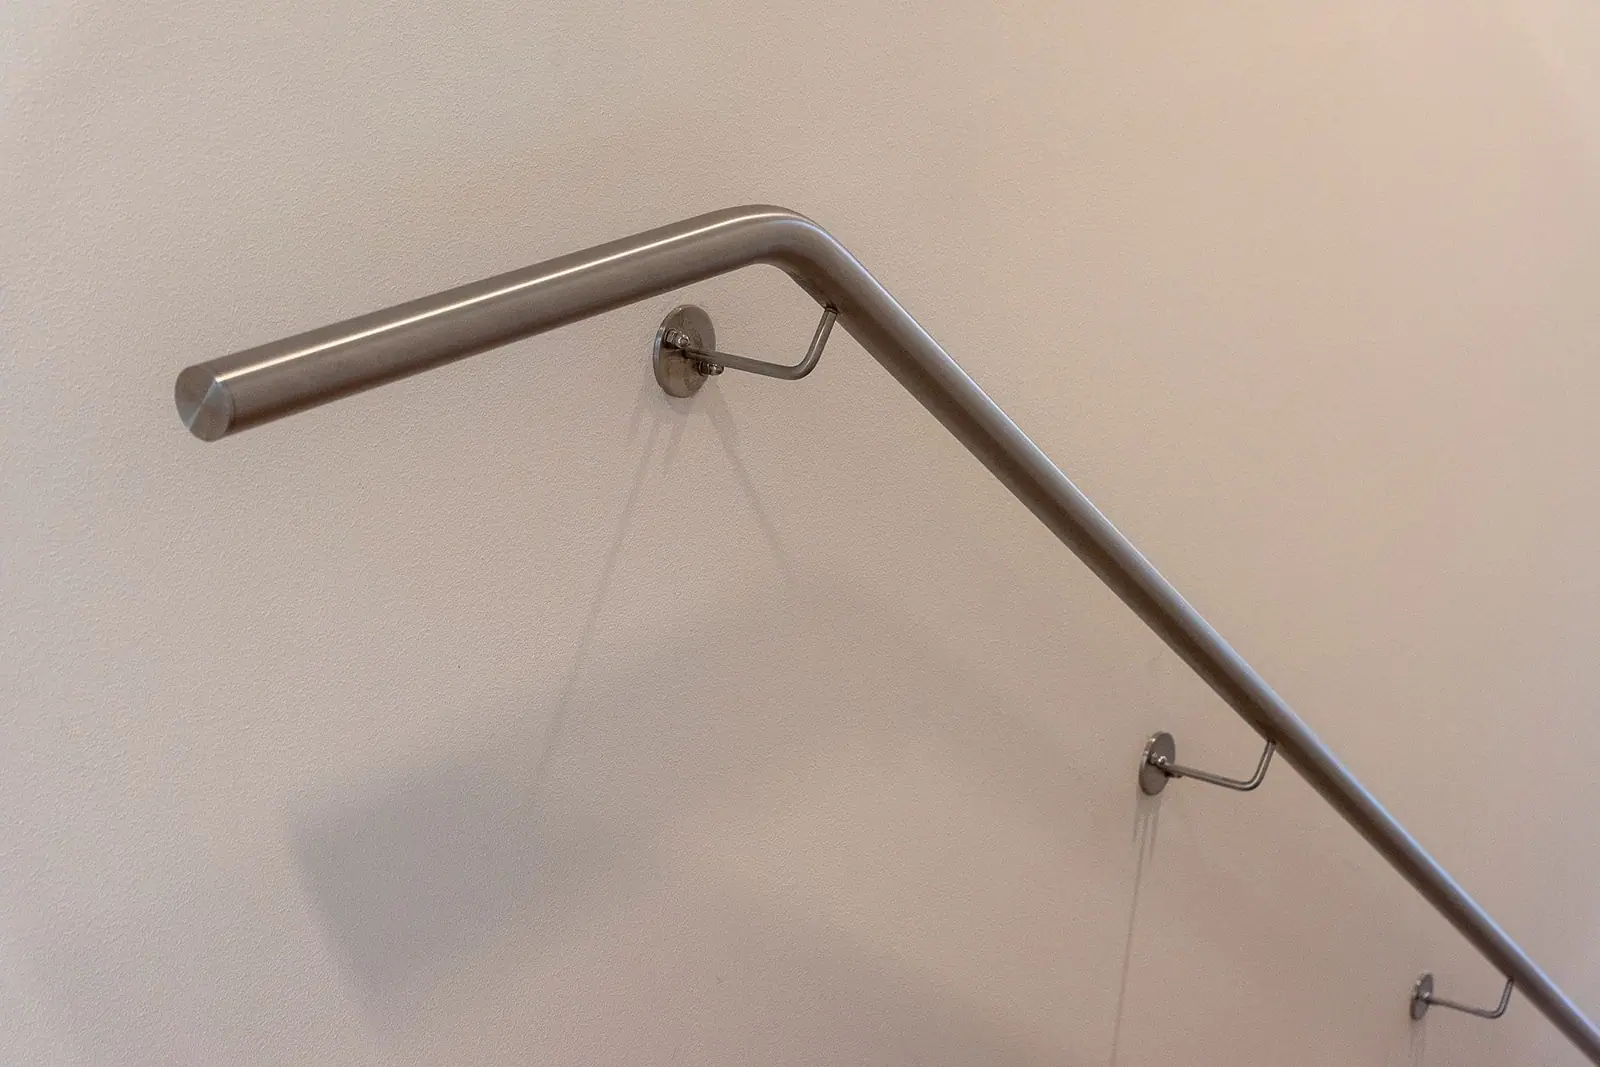
A grab bar is the cheapest change in this entire subject and the one most often done badly. The bar itself costs very little. What it is attached to decides whether it does anything at all.
What it has to be fixed to
A grab bar has to be able to take a person’s full weight, suddenly, at an angle, in a wet room. That means one of three fixings:
- Into studs. The framing behind the wall. A stud finder and a careful pilot hole are the whole technique, and a bar rarely lands exactly where two studs are convenient.
- Into blocking. Timber fixed between studs during a renovation, specifically so bars can be mounted anywhere on that wall later. If a bathroom is being rebuilt, adding blocking is nearly free and means bars can be added or moved at any time.
- Into a proper anchor system designed and rated for grab bars, installed exactly to the manufacturer’s instructions.
What it must never be fixed into is tile alone, plasterboard alone, or a standard plastic wall plug.
Suction bars are not grab bars
They are sold beside real bars, they cost a fraction, and they stick to a tiled wall convincingly. They are designed for steadying, in a hotel, for a person who could manage without them. They release without warning when the surface is wet, soapy or slightly textured, and they do it at the exact moment the person is transferring their weight.
If a suction bar is in the bathroom, treat it as a towel rail and install a real one.
Where they go
The National Institute on Aging’s room-by-room guidance is a good starting point: mount grab bars near toilets and on both the inside and outside of the tub and shower.
In practice, watch the person use the room and put bars where their hands already go:
- Beside the toilet, for lowering and rising. A vertical bar suits some people, a horizontal one others, and an angled bar is a compromise.
- At the entry to the tub or shower, vertical, for the step in and the step out. This is the bar most often missing.
- Inside the shower, horizontal, for stability while washing, plus a vertical bar near the controls.
- Outside the tub, so the transfer has a handhold on both sides of the movement.
- By the basin, if the person steadies themselves on it now. A basin is not a grab bar and will eventually come off the wall.
NIA also suggests a grab bar near the front door to provide balance while locking and unlocking, which is a good example of thinking beyond the bathroom.
The reference dimensions, with a caveat
The 2010 ADA Standards for Accessible Design put grab bars with the top of the gripping surface 33 to 36 inches above the floor, and set requirements for the space around the bar so a hand can close on it.
Two important caveats:
- The ADA applies to public accommodations and commercial facilities, not to private homes. Nobody is inspecting your bathroom, and nothing here is a legal requirement for a house.
- The dimension is a starting point, not a prescription. A tall person, a wheelchair user and somebody with limited shoulder movement all want different heights. Have the person stand where the bar will be used and mark where their hand rests.
If a bathroom is being renovated anyway, ask for blocking behind every wall around the toilet, the tub and the shower, whether or not bars go in now. It costs a few dollars of timber during the work and it means a bar can be fitted at any height later without opening a wall. This is the single best-value decision in an accessible bathroom.
Getting it done
- Buy bars rated for the purpose, with a stated load rating, in a finish with some texture rather than polished chrome.
- Choose lengths deliberately: a short bar for a specific handhold, a longer one where the hand travels.
- Do not paint over a bar, which makes it slippery.
- Test every bar hard, with your own weight, before the person relies on it.
- Re-test annually. Fixings loosen, especially in a wet room.
- Add a second bar where you are undecided. Two bars cost less than one fall.
Related reading: Tub Transfer Bench Cost: Fit, Height and Weight Limits and Plan the Bathroom Once, Not Three Times.
Questions people ask
Can grab bars be installed without hitting a stud?
Only with an anchor system specifically designed and rated for grab bars, fitted exactly to the manufacturer's instructions. Tile alone, plasterboard alone and ordinary wall plugs are not sufficient. Fixing into studs or into blocking added behind the wall is the reliable approach.
Are suction grab bars safe?
Not as grab bars. They are steadying aids for travel and can release without warning on wet, soapy or textured surfaces, which is exactly when weight is on them. Install fixed bars for anything somebody relies on.
What height should a grab bar be?
The federal accessibility standards for public buildings put the top of the gripping surface 33 to 36 inches above the floor, which is a sound starting point. Homes are not covered by those rules, so adjust to the person: have them stand where the bar will be used and mark where the hand rests.
Where should grab bars be placed in a bathroom?
The National Institute on Aging advises bars near the toilet and on both the inside and outside of the tub and shower. Add a vertical bar at the entry point and one near the shower controls, and watch where the person's hands already reach.
Where these figures come from
- Preventing Falls at Home: Room by Room National Institute on Aging, NIH · nia.nih.gov
- 2010 ADA Standards for Accessible Design US Department of Justice · ada.gov
- Publication 502, Medical and Dental Expenses Internal Revenue Service · irs.gov
Figures last checked September 2026.